Meal Prepping For Baby’s Arrival #1 | Fill Your Freezer For Postpartum
Cooking and freezing meals for after baby is born is one of the biggest ways to simplify postpartum life and help the transition period be less stressful! Join me for my first session of meal prepping for postpartum.
When pregnant with my first child, I had the best of intentions for cooking lots of meals to have in the freezer ready to go for when we got home from the hospital. I worked as a waitress all the way up until she was born and I was so exhausted that the meal prep never got done. Thankfully some sweet ladies brought us meals and my mom was here to help as well.
Looking back, life during that time would’ve been soooo much easier if I had gotten those freezer meals made. Of course, I had no idea how awful that birth experience would be nor how long the recovery time would last. If you missed my birth story saga, you can read it here. It’s not an experience I care to EVER repeat!
This post may contain affiliate links which means that if you make a purchase, I make a small commission at no extra cost to you. See my full, boring disclosure here.
How To Plan Freezer Meals For Postpartum
The first thing I did was to get a piece of paper and write out all of the meals that I wanted to make. I tried to pick things that everyone likes that would also freeze well. Since baby #2 is due in December, I also plan to do lots of soup but saved those for a different day.
After you figure out the meals you want to make, make a list of all of the ingredients you’ll need. I broke my meal prep up into 3 sessions because I knew I’d never get it all finished at one time. If you’re planning to break your meal prep into different days, only buy the shelf stable or freezer ingredients ahead of time and wait to get any fresh ingredients until right before you’re ready.
Get your ingredients list and then check your pantry, freezer, and fridge to see what items you already have and what you’ll need to buy. This stuff may sound stupid to actually right out as instructions, but there’s nothing more frustrating than going off half cocked and realizing in the middle of your meal prepping that you forgot to buy a key ingredient!
When making your grocery list, be sure and include whatever bags, pans, or wrap that you’ll need for freezing your meals.
Meal Prepping For Postpartum Video:
Freezer Meal Prep #1 – “Extras”
For my first freezer meal session I did what I call the “extras” from my list. These are things that will still have a little work involved to cook but the bulk of the preparing will be done. I’m planning to do 2 more sessions with one being soups {can’t wait for soup weather!} and one being casseroles.
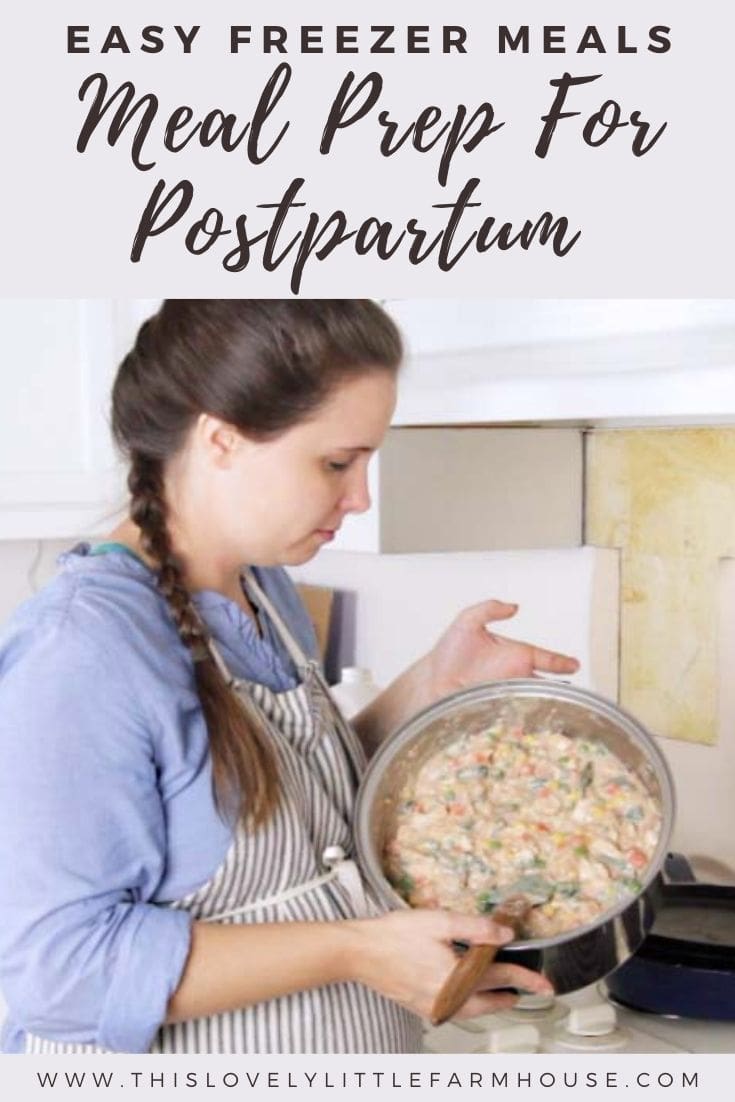
So my “extras” for today were BBQ meat in the instant pot for BBQ stuffed potatoes. It’s delicious and could also be used for sandwiches. I also made chicken pot pie filling for at least 2 pot pies and spaghetti sauce with meat. The last thing for the day was a recipe from Lisa at Farmhouse on Boone called Sourdough Skillet. It’s something everyone in our house likes!
Ingredients:
*amounts are approximate. I don’t really follow recipes for these meals, but I will do my best to give estimates and the method for preparing them.
Chicken Pot Pie Filling:
5 cups cooked chicken
6 cups of frozen mixed veggies
1/3 cup coconut oil
1 cup flour
1/3 gallon milk
season to taste
BBQ Meat:
2 round steaks {could use roast or stew meat – beef, deer, or pork}
BBQ sauce
vinegar for a tangier sauce
Spaghetti Sauce W/Meat:
2 lbs cooked ground beef
3 large bottles prepared spaghetti sauce
Sourdough Skillet Filling:
2 lbs cooked ground beef
6 cups assorted veggies
1-2 cans rotel tomatoes
1 small can tomato paste – optional
1 can tomato sauce – optional
season to taste
How To Make The Meals:
Chicken Pot Pie Filling
- Melt approximately 1/3 cup of coconut oil in a large stock pot.
- Add about 1 cup of flour and mix together. It’ll be pretty dry.
- Slowly add about 1/3 gallon of milk and whisk to combine. Whisk vigorously to get rid of any lumps. If you have lumps you can’t get whisked out, zap it with an immersion blender before adding remaining ingredients.
- Add approximately 6 cups of mixed veggies and about 4-5 cups cooked chicken.
- Season to taste.
To serve, top with crust and bake.
BBQ Meat:
- Trim gristle off of 2 round steaks.
- Cook in the IP with 1 cup of water for 20 minutes and then natural pressure release until the pressure gauge drops.
- Break the meat up and mix with BBQ sauce and vinegar {optional} to taste.
Serve over loaded baked potatoes.
Spaghetti Sauce W/Meat:
This one is hard hahaha
- Dump 3 bottles of sauce into large pot
- Add 2 lbs cooked ground beef
- Cook and season for a better flavor
Sourdough Skillet Filling:
- Mix 2 lbs cooked ground beef with about 6 cups mixed veggies.
- Add rotel tomatoes, tomato paste, and tomato sauce
- Season to taste
To serve, top with crust and bake.
Bag or package all meals up. Be sure to label them with the date, what they are, and reheating instructions.
Freezer Meal Prepping Tips:
Make A Plan
This seems super obvious, but I’ll go ahead and say it anyway. Because if you’re experiencing pregnancy brain like me, sometimes things just have to be spelled out!
Go ahead and write out what meals you’re planning to make, and check your pantry and fridge for the items that you need to shop for.
Make your grocery list and plan a shopping day a few days ahead of your cooking day just to make sure you have everything you need. If you’re planning to break your meal prep days up over a few weeks like I did, only buy the supplies for the first meal prep session, unless they’re shelf stable and will keep in the pantry.
And don’t forget to get whatever you need to freeze your meals in, whether you use freezer bags, throw away pans or casserole dishes.
Get Rested
Another obvious thing, but if you’re planning a big meal prepping day, it’s going to be exhausting. not to mention the dirty dishes that you’ll have to deal with afterward. The night before meal prepping won’t be the best night to stay up until 2 in the morning binge watching your favorite new show. Especially if you have other kids that frequently interrupt your sleep!
Start With A Clean Kitchen
Working in a clean kitchen is so much easier and you’ll have all of the tools, spoons, and dishes that you’ll need clean and ready to use. It beats the heck out of having to stop every few minutes to wash another spoon or bowl.
If you’re anything like me, it’ll be a disaster by the time you’re finished with all of the cooking but it’s nice to at least start with it clean!
Label Your Containers First
Go ahead and label your bags or pans before you put the food in, if possible. It’ll be soooo much easier! If you’ve never tried to write on a sweating ziplock bag before, let me be the one to tell you…it doesn’t work!
Make A Freezer Meal Inventory List
Go ahead and make a list of all of the meals you’ve made and stashed in the fridge. I would recommend writing it out on paper instead of somewhere like your phone, then putting it in a prominent space such as taped to the side of the fridge. That way whoever is managing the food prep while you’re {supposed to be} resting up after baby is born can find it without having to constantly ask you. And it’ll make it easier for you to actually get that rest and relaxation that your body needs!
My Meal Prep Essentials:
Instant Pot Duo – also has the yogurt function for the easiest homemade yogurt!
Le Creuset Enamel Cast Iron Dutch Oven – I got one of these {used in the video} for a wedding present and I have to say, I LOVE it! It still looks brand new whereas the cheapo one that I also got is very much worse for the wear. That being said, this baby is expensive! It’s more of a kitchen investment.
Lodge Enamel Cast Iron Dutch Oven – about 1/3 of the price of Le Creuset but still has decent reviews although many reviewers say that it’s made in China instead of America, if that’s something that matters to you.
Pin To Your Favorite Board:
