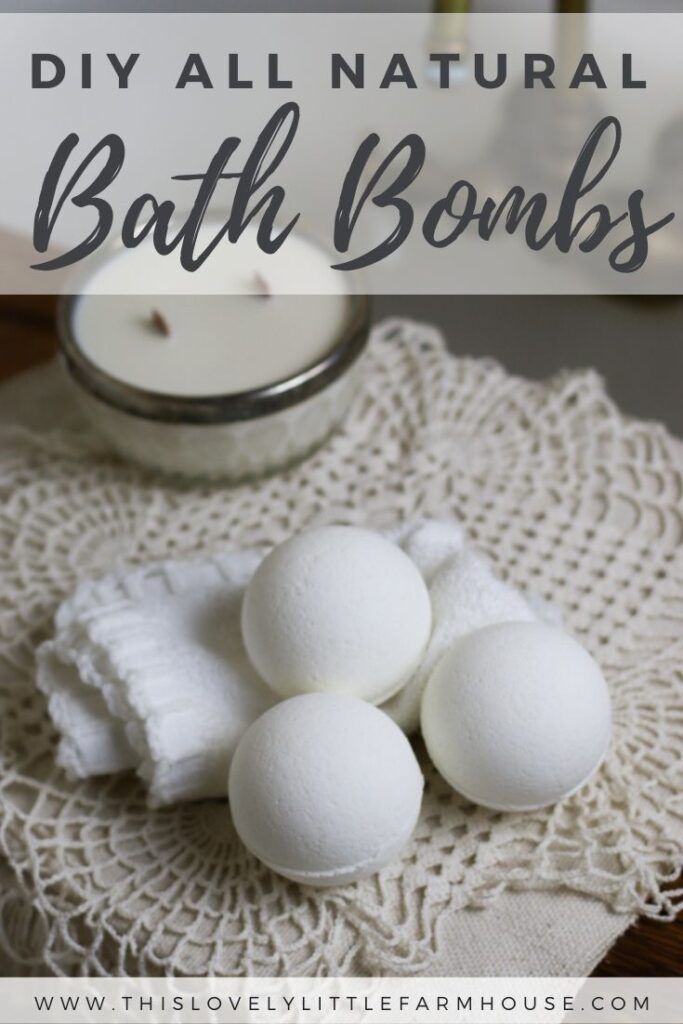
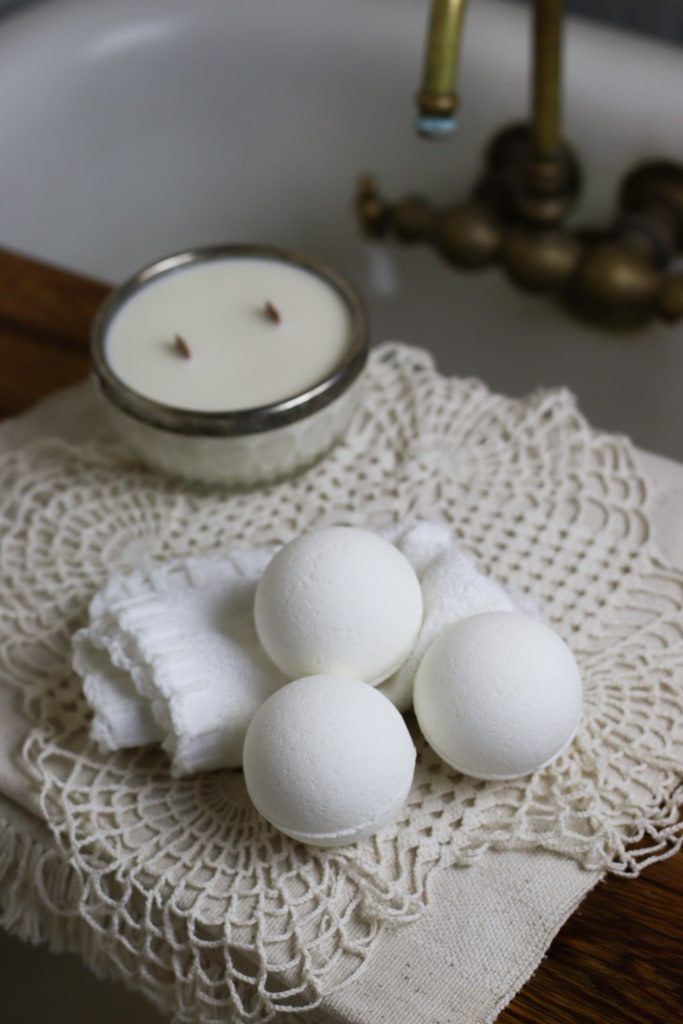
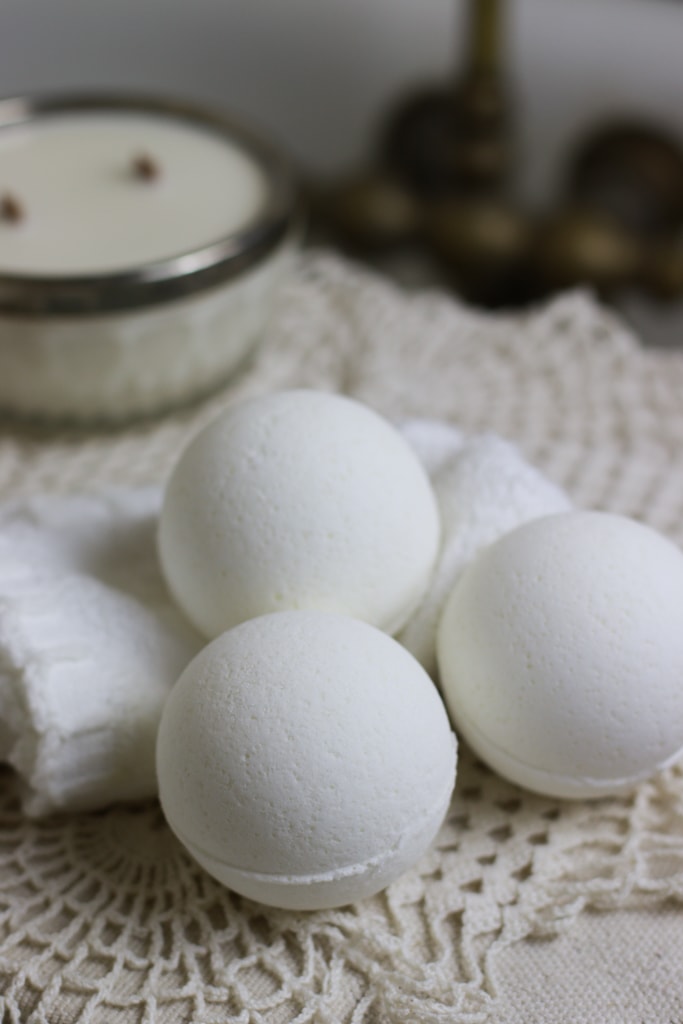
Natural Bath Bomb Recipe
Whether you’ve had a long day at the office or a long day with the kids, sometimes you just need a little TLC. Use this natural bath bomb recipe to make DIY bath bombs that are just the ticket for some much needed time to relax, recharge, and soak the cares of the day away!
We’ve all been there. It’s been one of those days.
The dog ran through a mud puddle right before he ran through the front door.
Your precious 3 year old dropped her full cup of milk all over the kitchen floor.
If you have to answer 1 more “why” you may just go completly crazy.
I feel ya mama. I’ve been there. Some days around here feel like all the zoo animals got loose at fun fair park and I’m the janitor that has to come in and clean it all up. Bless it.
This post may contain affiliate links, which means that I make a small commission at no extra cost to you. See my full, boring disclosure here.
What Do You Need To Make Natural Bath Bombs?
- citric acid
- baking soda
- cornstarch
- epsom salt
- witch hazel
- small spray bottle
- plastic bath bomb molds
- metal bath bomb molds
- kitchen scale
- large bowl
- essential oils (optional)
How To Make Toxin Free Bath Bombs:
- Weigh out 250 grams of baking soda.
- Zero scale and add 125 grams citric acid.
- Zero scale and add 125 grams cornstarch.
- Zero scale and add 125 grams epsom salt.
- Combine well, crushing any lumps.
- Spray in witch hazel, alternating with mixing, just until mixture holds it shaped when squeezed tightly in your hand. Be very careful not to add too much witch hazel at one time before stirring.
- Add essential oils. I like 12-15 drops per recipe which equals about 4 drops per bath bomb.
- Loosely pack each side of a bath bomb mold, heaping a little extra on each side.
- Squeeze the 2 sides of the bath bomb mold together.
- At this point you can either leave the bath bombs in the mold until they’re dry or take them out to dry. Just experiment and see which way you like best. If the bath bomb sticks in the mold, tap it with the edge of a knife to help it release from the mold.
For an easier beginner experience, you could also use silicone molds like this to shape your bath bombs in instead of the typical round mold.
Pro tip: After some experimenting, I find that the 2 sides of the bath bombs are easier to get to “stick together” when you don’t pack the sides so full. Loosely pack the 2 sides of the mold and then heap up a little extra on each side.
All Natural Bath Bombs
Equipment
- small spray bottle
- bath bomb molds
- kitchen scale
- large bowl
Ingredients
- 250 grams baking soda
- 125 grams citric acid
- 125 grams cornstarch
- 125 grams epsom salt
- witch hazel
- essential oils, optional
Instructions
- Weigh out 250 grams of baking soda.
- Zero scale and add 125 grams citric acid.
- Zero scale and add 125 grams cornstarch.
- Zero scale and add 125 grams epsom salt.
- Combine well, crushing any lumps.
- Spray in witch hazel, alternating with mixing, just until mixture holds it shaped when squeezed tightly in your hand. Be very careful not to add too much witch hazel at one time before stirring.
- Add essential oils. I like 12-15 drops per recipe which equals about 4 drops per bath bomb.
- Loosely pack each side of a bath bomb mold, heaping a little extra on each side. Squeeze the 2 sides of the bath bomb mold together. At this point you can either leave the bath bombs in the mold until they're dry or take them out to dry. Just experiment and see which way you like best. If the bath bomb sticks in the mold, tap it with the edge of a knife to help it release from the mold.
Notes
Essential Oil Combinations For Bath Bombs
The thing I love about adding essential oils to bath bombs is that they not only smell amazing, but they have wonderful benefits as well!
Need to relax and let go of your worries for a few? Started a new workout regimen a few days ago and you’re really feeling it now? The bug going around got you stopped up?
Relaxing Bath Bomb Blend:
- Lavender
- Cedarwood
- German or Roman Chamomile
Young Living blends for a relaxing bath bomb blend: Peace and Calming, Stress Away, Valor, and Gentle Baby
Muscle Relief Bath Bomb Blend:
- Copaiba
- Elemi
- Eucalyptus Blue
- Lavender
Blends for muscle relief bath bomb: Aroma Siez, M-Grain, and Pan Away
Congestion Relief Bath Bomb Blend:
- Any Eucalyptus Oil
- Cypress
- Myrtle
- Copaiba
Blends for a congestion relief bath bomb: RC and Raven
Bath Bomb FAQ’S
What ingredients are bad in bath bombs?
Personally I would steer clear of any ingredients other than the basic bath bomb ingredients listed in the section above. That being said, here are a few specific ingredients to look out for.
“Fragrance” is a big one to look out for. Not only in bath bombs but in any personal care products! Fragrance is a catch all for so many unsavory and down right harmful ingredients. These chemicals can be included under “fragrances” as “trade secrets” even in “natural” or “green” products!
Talc which is linked to ovarian cancer.
Do you need cornstarch to make bath bombs?
No, you don’t have to put the cornstarch in your bath bombs but they will dissolve more quickly without it.
What ingredients are needed to make a bath bomb?
The absolute basic ingredients for bath bombs are baking soda and citric acid. That’s what makes the fizz. Cornstarch is added to help slow down the chemical reaction so your bath bombs last a little longer. Epsom salt is generally included as well and is very beneficial for a nice soak in the tub.
In addition to those necessary ingredients, you can add colorants, scents/oils, and different things like flower petals etc.
I like to keep my bath bombs as natural and chemical free as possible. You can get creative with natural colorants such as spirulina for blue-green, annatto seed powder for a yellow-orange, and madder root or açaí powder for pink.
As far as scents go, chemical fragrances can be extremely toxic and lead to things like allergies and asthma. Instead of those, I use pure essential oils that not only smell great but have tons of health benefits as well!
However, not all essential oils are created equal! Your typical grocery store “essential oils” are no more than frangrances filled with all of those chemicals that I try so hard to avoid. Many of them even have warning labels not to get them on your skin!
If you’d like to know more about the essential oils I use {Young Living} and why they’re so awesome, I’ve got a free class about just that! You can sign up for the class here.
How much essential oil do you put in bath bombs?
When adding essential oils to an epsom salt bath, I typically like to add 3-4 drops. For that same amount, you’d add about 12-15 drops to one recipe of bath bombs.
Why are my bath bombs falling apart?
If you can’t get your bath bombs to hold their shape, you’re most likely not adding enough witch hazel. You want the mixture to feel similar to wet sand. Not wet really. It actually won’t even feel damp. It should just hold it’s shape when you squeeze the mixture in your hand. But too much witch hazel and you’ll end up with a blob of bath bomb mess so it’s definitely a balancing act.
Don’t be afraid to just experiment and enjoy the learning process! Even the fails will be wonderful in a hot bath!
Do I need a preservative in bath bombs?
No. Because your bath bombs don’t contain water, there’s no need for a preservative.
What is the chemistry behind bath bombs?
In very simple terms, when you mix baking soda and citric acid together and then add it to water, the 2 undergo a series of chemical reactions that leads to the production of carbon dioxide, which is a gas that rises out of the water as all those delightful bubbles that fizz from your bath bomb.
Bath bombs would be an excellent homeschool science lab project when you get to chemistry!
Why are my diy bath bombs expanding?
If your bath bombs are starting to look less like perfect little orbs and more like a science experience gone wrong, chances are you put too much witch hazel. Too much moisture causes that chemical reaction that we talked about above to start and then you’ve just got a big mess on your hands.
Pro tip: once you see your bath bombs expanding, go ahead and pick the mess up and put it in a bag to throw in your bath later. It’s still worth using even though it won’t have any fizzing action left. But be warned, if you leave it on your pan/plate/counter until it’s “dry”, it will harden into a concrete like mass that you’ll have to chisel off! Or you could just soak it in some water because that’s how us cool kids roll.
Free Printable Gift Tags
You can get your free printable gift tags from my resource library. If you need the password, you can get it by filling out the form below and joining my email list. If you’re already a member of the mailing list, I include the password at the bottom of nearly every email.
Save It To Your Favorite All Natural DIY Board: