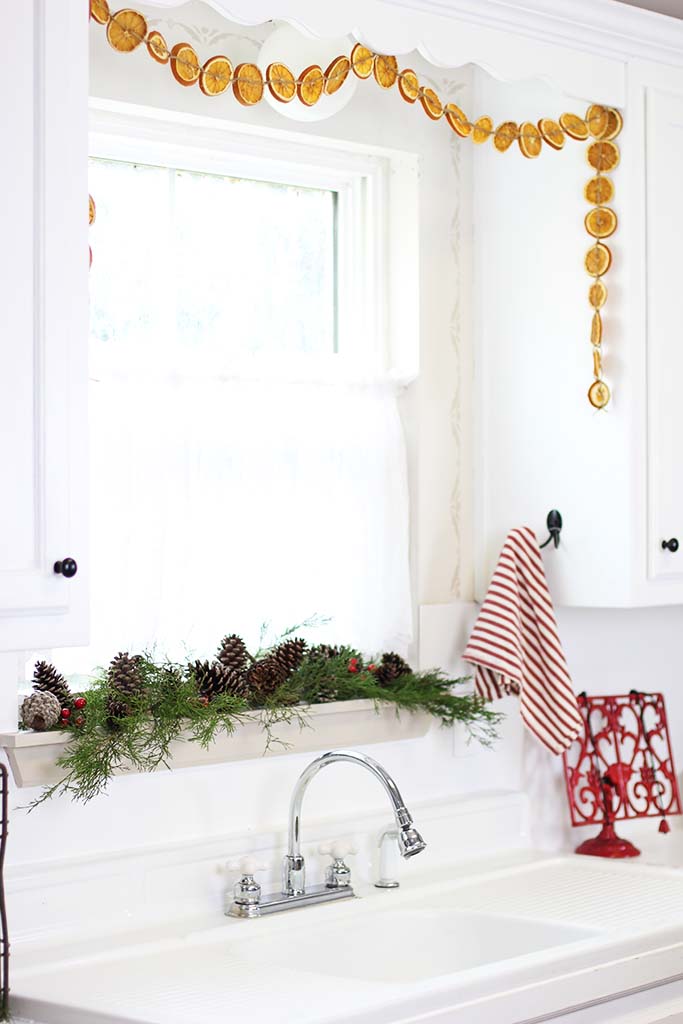
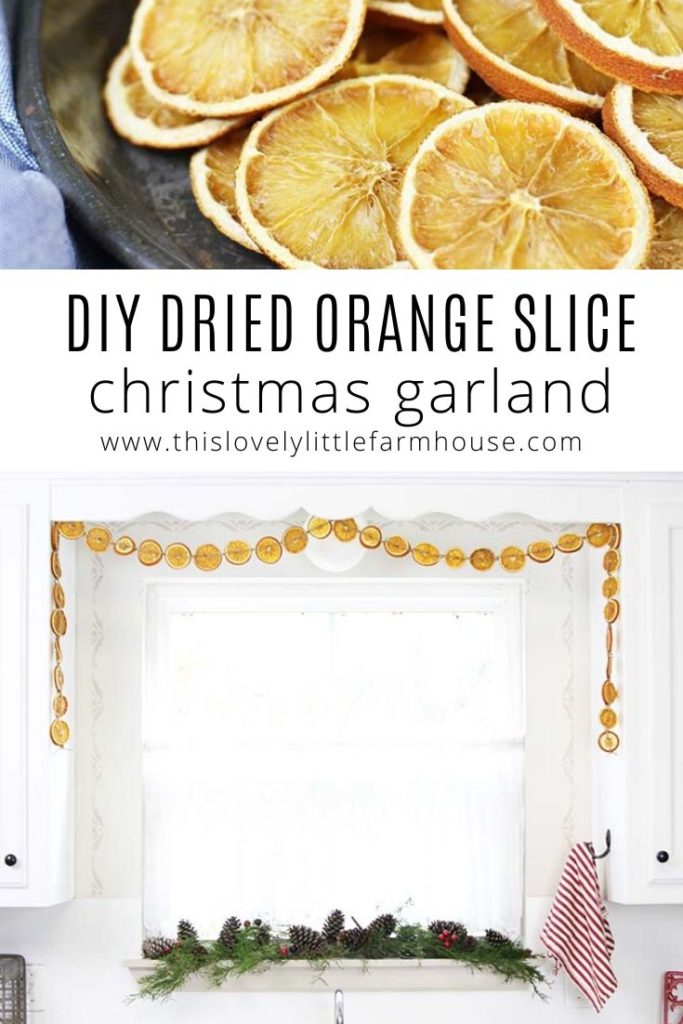
DIY Dried Orange Slice Garland | Simple, Scandinavian Style Christmas Decor
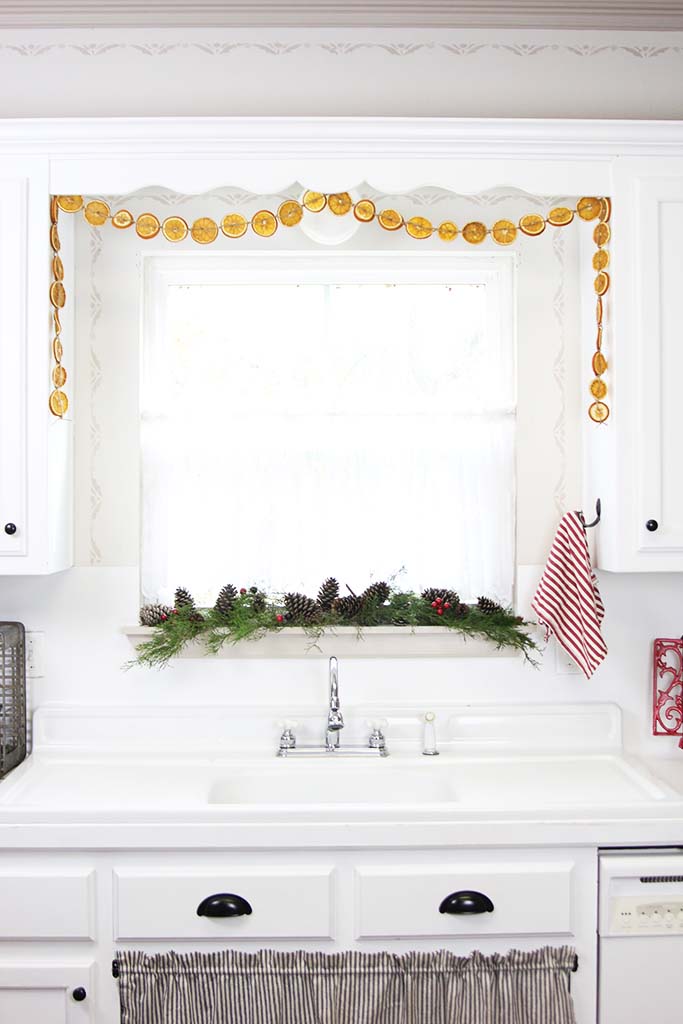
If you’re looking for a simple way to add an old world, cozy, Scandinavian inspired feel to your Christmas decorations this year, this easy, dried orange slice garland is just the thing!
This post may contain affiliate links, which means that I make a small commission at absolutely no extra cost to you. See my full, boring disclosure here.
Watch How To Make A Dried Orange Garland:
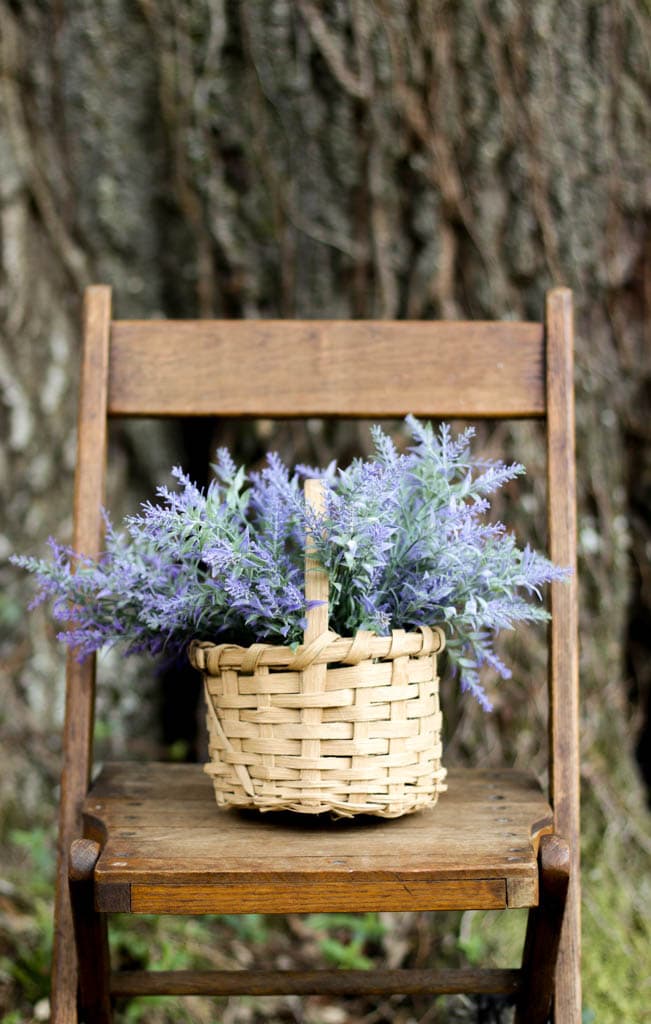
I love bringing in natural elements like greenery, pinecones, and flowers to decorate our home with. It’s beautiful, and adds such a cozy feel to your home but yet still has that minimalist, understated look that I’ve started to really love lately. A dried orange slice garland fits perfect with that theme! Plus you can easily transition to winter decor without having to pick up everything from Christmas and redo all the decorations.
I’m leaning toward simple and minimalist and trying to get rid of clutter and so much stuff that it makes my home hard to clean and…well, cluttered. Is anyone else in the decluttering and minimizing stage of life?
My other favorite part of using natural elements for decorating is that they can be found right outside your door {or the grocery store in this case} and can make such a beautiful addition at such an inexpensive price! DIYers rejoice!
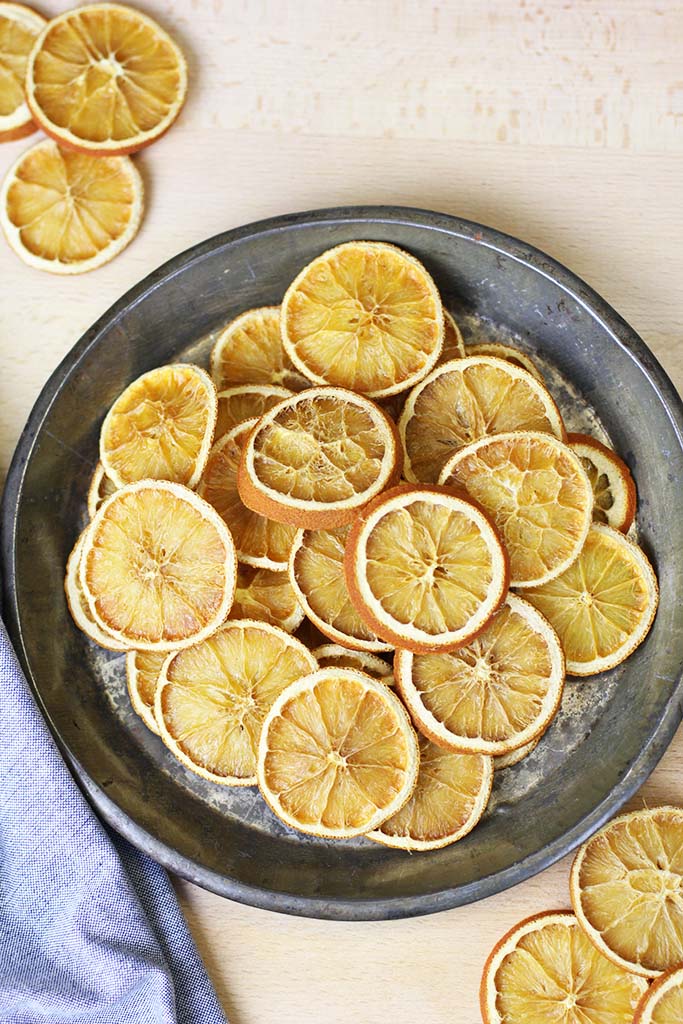
How To Dry Oranges For Garland
You can dry your oranges 2 different ways depending on what you have and how much time you want to take doing it. If you have a dehydrator, you can take a little longer and dry them that way. It will take longer but it’s more hands off time as you can set them and go about your activities.
If you don’t have a dehydrator, you can dry your oranges in the oven. It’s faster and yields the same end result but you do have to be there, flipping your slices and watching to make sure they don’t burn. It’s not hard at all, just way more hands on than the dehydrator method.
I got a little carried away and my slices were way thicker than they should’ve been, hence they took a very long time to dry. They still worked fine and look great, but took much longer to dry than thinner slices would have.
What You’ll Need For Dried Orange Slices:
- 5-6 oranges depending on how long of a garland you want
- Sharp knife and cutting board for slicing
- Twine, wire, or string for hanging
- large craft needle or awl and tape to wrap end of twine
- oven or dehydrator
How To Make Dried Orange Garland:
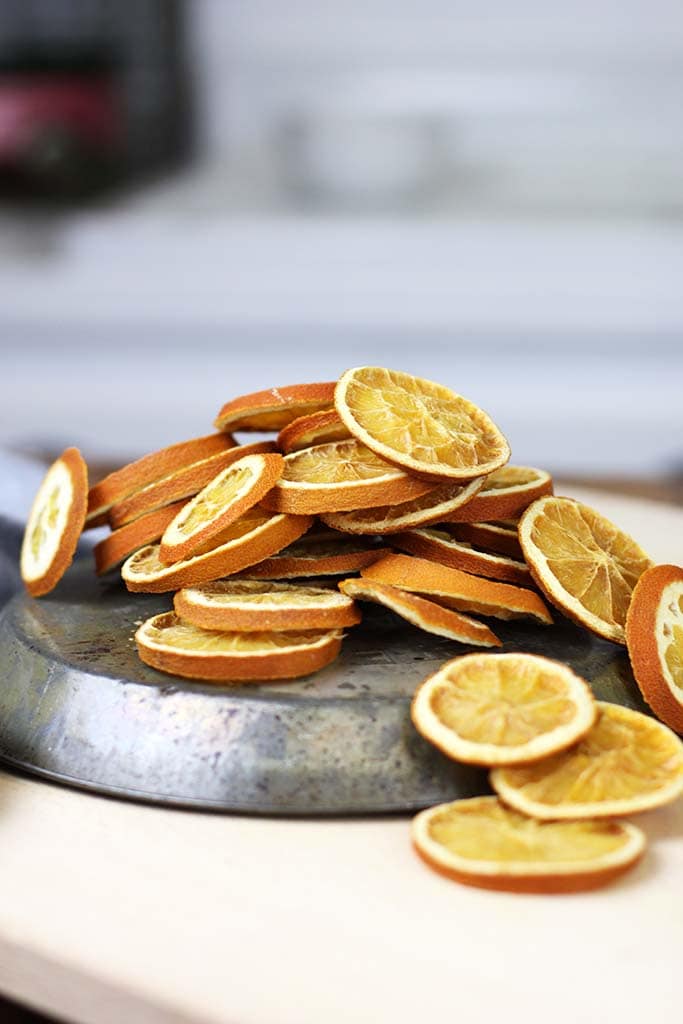
- Slice oranges around 1/8″ thick. Thinner will dry faster than thicker but the most important part is to cut the slices evenly.
- Blot with paper towels to remove excess juice.
- Lay out on parchment lined baking sheets.
- Bake at 200° for about 2 hours, flipping every 30 minutes. Remove slices as they start getting finished. I baked mine until they started getting a little brown on the edges but took them off while they were still a little soft to keep them from being so brown. If using a dehydrator, place on trays and dehydrate until dry but not crunchy. They’ll still be slightly soft feeling.
- Let orange slices cool completely.
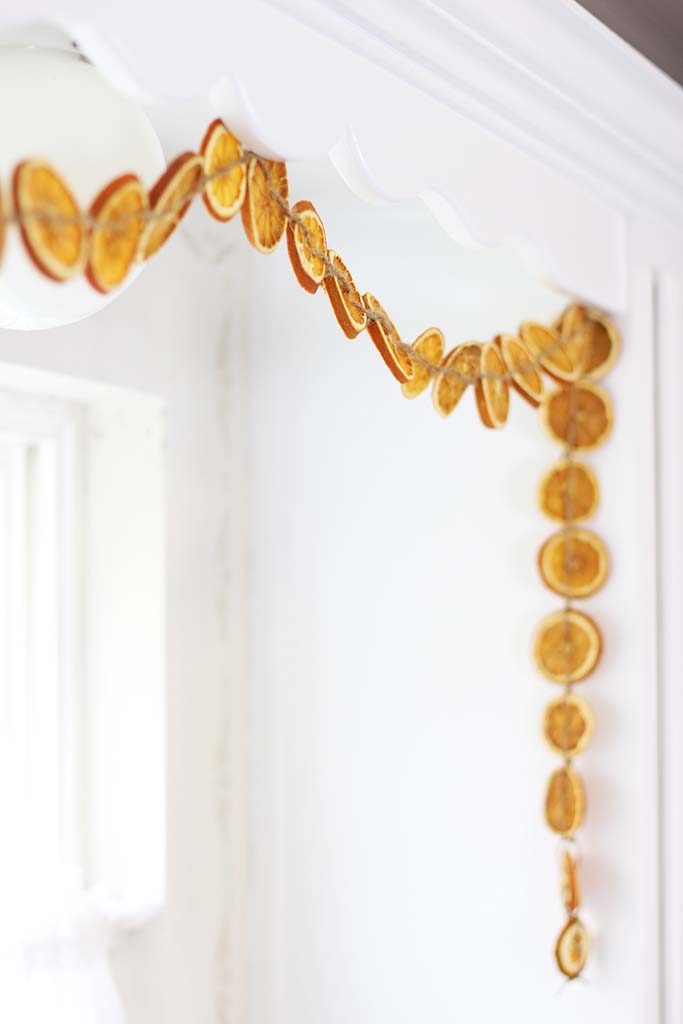
- String on twine and hang.
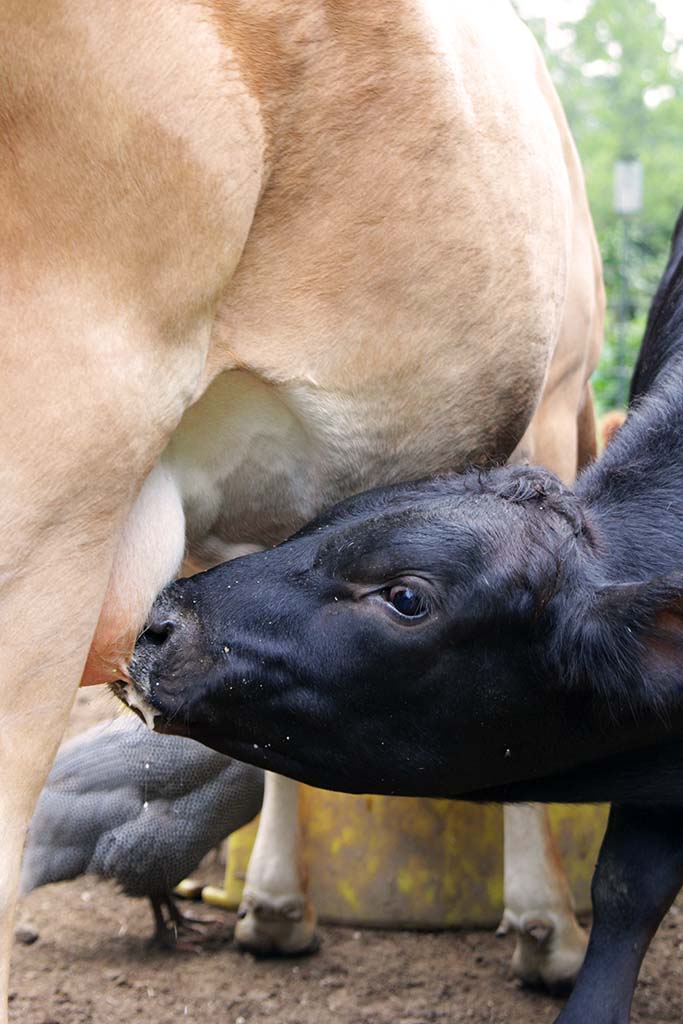
You can store your garland to use next year or make a new one each year. Setting them out for the birds or chickens would be a fun way to use your dried orange slices even after you’re finished with them for the year.
Print The Instructions:

DIY Dried Orange Slice Garland
Equipment
- oven
- sharp knife
- cutting board
- baking sheet
Ingredients
- 5-6 oranges depending on how long of a garland you want
- Sharp knife and cutting board for slicing
- Twine wire, or string for hanging
- large craft needle or awl and tape to wrap end of twine
Instructions
- Slice oranges around 1/8″ thick. Thinner will dry faster than thicker but the most important part is to cut the slices evenly.
- Blot with paper towels to remove excess juice.
- Lay out on parchment lined baking sheets.
- Bake at 200° for about 2 hours, flipping every 30 minutes. Remove slices as they start getting finished. I baked mine until they started getting a little brown on the edges but took them off while they were still a little soft to keep them from being so brown. If using a dehydrator, place on trays and dehydrate until dry but not crunchy. They'll still be slightly soft feeling.
- Let orange slices cool completely.
- String on twine and hang.
Dried Orange Christmas Garland Supplies:
Dehydrator {optional}
You Might Also Like:
DIY Homemade Cinnamon Applesauce Christmas Ornaments | Kids Safe
Homestead Gift Guide | Homestead And Farm Essentials
Saltine Cracker Toffee Bar Recipe AKA Christmas Crack
Pin This To Your Favorite Board For Later:
Thank you so much for joining me today! If you make your own dried orange garland this Christmas, be sure to tag me on Instagram @thislovelylittlefarmhouse. I’d love to see your garland!

Hi! What type of oranges did you use?
Just regular oranges from the grocery store…nothing special 🙂